Photographing in the golden hour is a great way to capture a natural glow or make subjects appear glowing. These golden tones will also create a natural tan for your subject. It is important to shoot during the golden hour. The warm tones produced by the combination of reds, yellows, and blues is due to their combined effect.
Perfect time to take photos
Both professionals and photographers love the golden hours because of their excellent lighting and creative control. You'll also have less distractions because it is less crowded. The direct light is also more even, resulting in nice shadows and contrast. This is the perfect time to use both a tripod, and long exposures to capture those stunning sunsets.
This light has a golden color, which is warmer than normal light. This glow gives landscapes and architecture a majestic touch. This glow makes everyday scenes seem like they have come straight out of a movie. But golden hour photography does not guarantee stunning photographs. You must be patient and fully understand how light affects your subject.
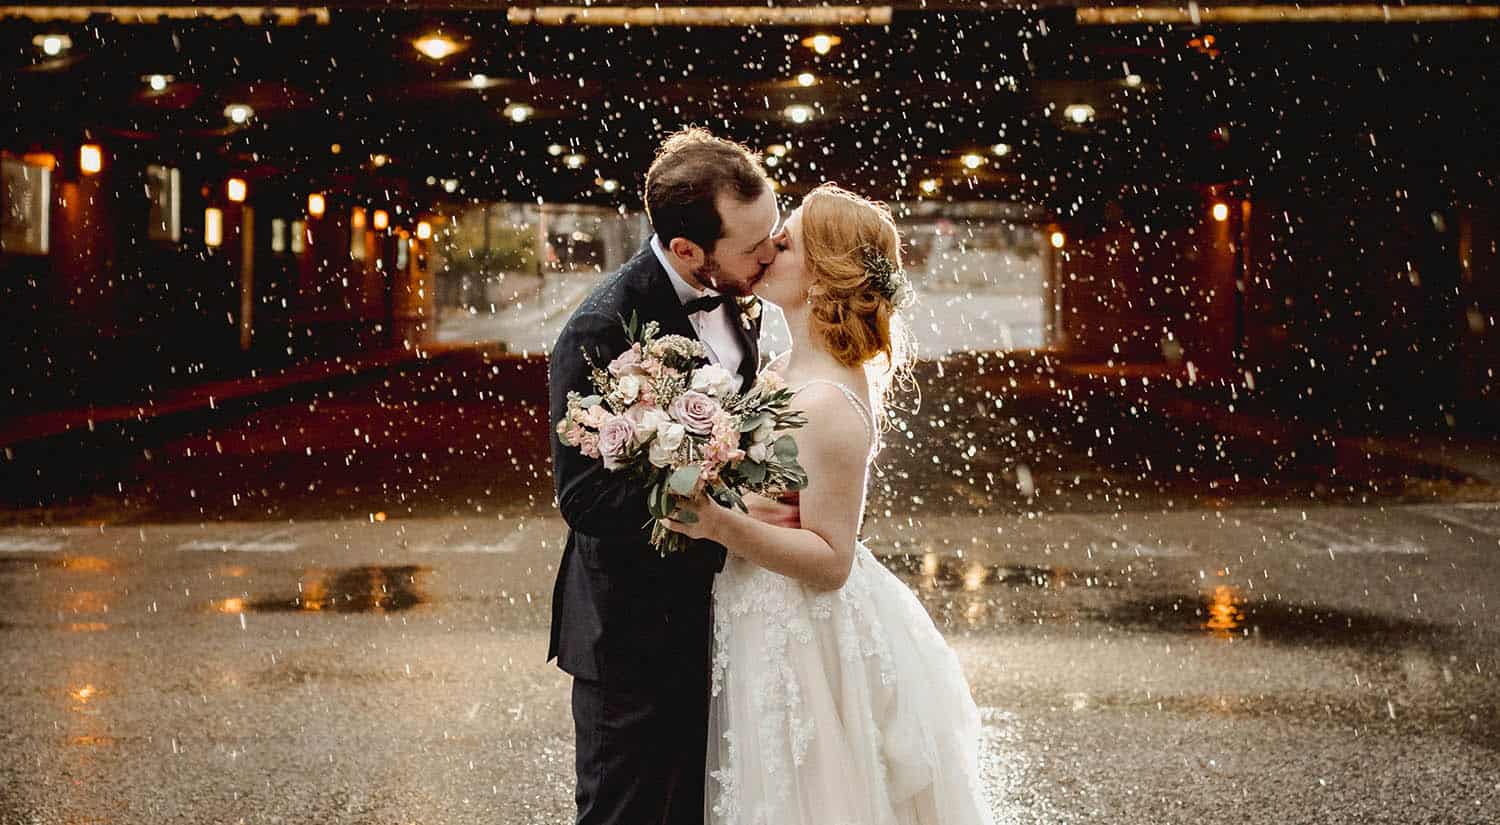
The golden hour is the best time to shoot portraits and weddings. It's ideal to create a soft glow surrounding your subject due to the low sun position. This allows you avoid harsh lighting on your subject and allows you to create a stunning bokeh effect in background.
Photography at golden hour: Benefits
Photographing during the golden hour will give you the best results. The light is brighter and almost monochromatic. This is because the sun rises slowly and sets quickly. The pictures taken at this time are balanced and much simpler than those taken elsewhere. Furthermore, the starburst effect can give you a stunning result.
The low elevation of the Sun during the golden hour makes it easier to control light. This low contrast of light makes it possible to use a wide variety of photographic techniques. This makes it possible to use backlighting, which allows you to lighten your subject and prevents shadows from engulfing. This is particularly useful for portraits and landscape photography. This is a great time to capture landscapes and portraits, even though you may not be able to do so.
Significance of recording neonatal care during golden hour
The neonate is extremely vulnerable during the first hour after birth and needs skilled, specific care. This will help guide future neonatal treatment. It is vital that we keep track of all interventions, including Apgar scores (resuscitation protocols), feeding patterns, laboratory investigations, and other procedures. Also, the records should include details about complications and how long they took.
The golden hour is a good time to take vital newborn parameters such blood pressure and temperature. New technology like near infrared spectrum (NIRS), which is used to measure blood flow/perfusion in tissue, must also be documented. This technology is becoming more popular as a tool for the management of complex congenital hearts disease. Studies have shown that low cerebral regional oxygen saturation can lead to worse neurologic outcomes and increased mortality.
The neonatal care during the golden hour is critical for the survival of the infant. Premature delivery is the greatest cause of infant mortality. In many countries, it can lead to long-term disabilities and even death. The first hour, regardless of the place where the baby was delivered, is a crucial transition period. The fragile preterm neonate does not have the body to make multiple adaptations to life outside of the uterus.
FAQ
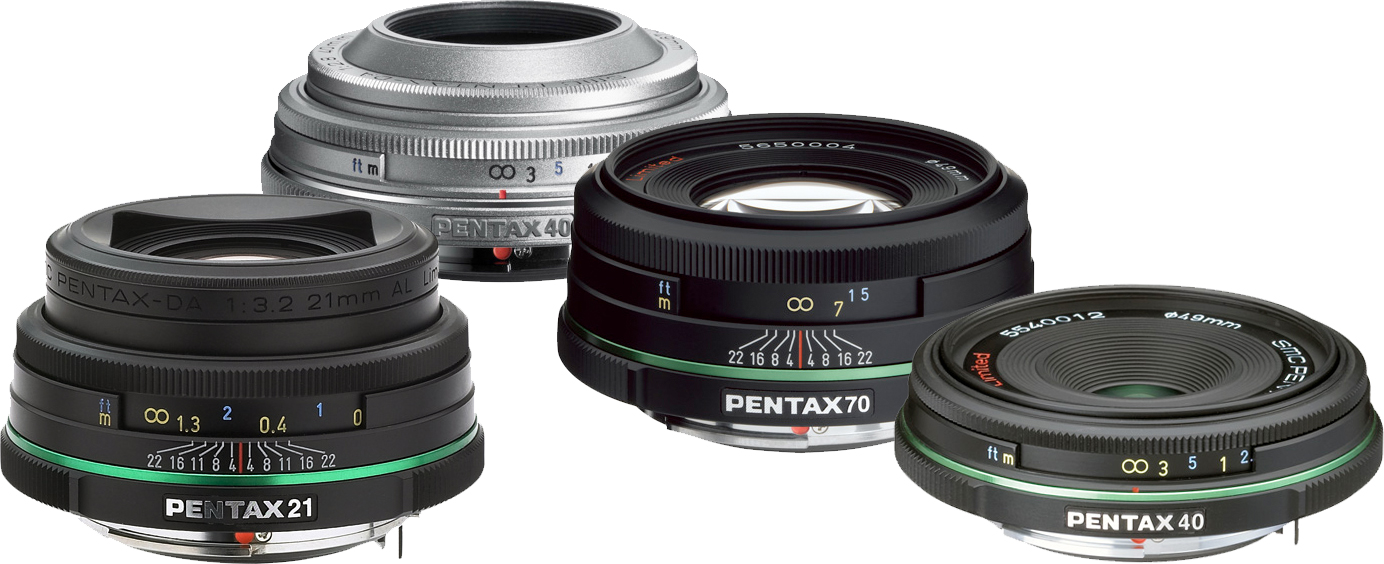
Which Lenses Are Best?
The most common question beginners ask is, "what lens should I buy?" There are many options. It can be difficult to make a decision.
The good news is you don't always need to buy a different lens with every purchase of a camera. Instead, you can add lenses later on.
For starters, here are three types of lenses you might want to consider.
-
Wide Angle Lens (14mm-24mm): These lenses offer a wide field of view that allows you to capture more detail. You can zoom in, but not lose image quality.
-
Standard/Normal Zoom Lens (28mm – 70mm): These lenses allow for you to adjust focal lengths and maintain image quality.
-
Telephoto Zoom Lens (70mm-200mm): These lenses can be used to capture distant subjects. They let you focus on your subject even though they appear small in the frame.
These lenses can also be combined to produce different effects. You can use a normal lens for close-up detail and switch to a zoom lens to capture distant objects.
How can I make my photos look beautiful?
You will look your best in photos if they are taken by you. You'll learn how you pose for the camera and which angles are best. Learn how to use lighting, props and other tools to enhance your natural beauty.
This course will teach you how to choose clothing that fits well, make-up that looks great, and hairstyles that flatter your face shape.
And if you're not happy with the results, we'll show you how to retouch your images using Photoshop and other editing software.
Take some self-portraits.
What Camera Should You Get?
That all depends on what kind of photographer you want to become. If you're just getting started, a basic point and click camera will suffice.
However, once you've mastered the basics, you'll likely want something more advanced. It really is up to you what you prefer.
These are some important things to think about before you purchase a new camera.
-
Features: Which features are most important? Are you going to use autofocus, manual settings, or both? What number of megapixels has your camera? Is there a viewfinder on your camera?
-
Price: How much do you want to spend? Are you looking to replace your camera every few years?
-
Brand: Are you happy with the brand that you choose? There is no reason to settle for less than the very best.
-
Functionality: Does your camera perform well in low light conditions? Are you capable of taking high-resolution photographs?
-
Image Quality: How clear are your images and how sharp are they?
-
Battery Life: How long can your camera last before it needs to be charged?
-
Accessories: Do you have the ability to attach flashes, additional lenses, and so forth? ?
What can I do to improve my photography skills with my phone?
Great photos don't require expensive equipment! Amazing images can be captured with a smartphone.
All you need to do is to be able to use the features of the program and to master some basic techniques.
There are many apps to help you edit and share your photos on both Android and iOS.
These five tips will help you take better photos.
-
Set Up Your Camera App. Your device should already have your camera app installed. If not, download it from Google Play or Apple's App Store.
-
Use effects and filters. You can change the look of your photo with filters and effects without even touching it.
-
Adjust Exposure. Adjusting the exposure can help you control the brightness in your picture.
-
Take the right lighting. The brighter the light, the easier it is to see details. You can capture highlights and shadows in low-light conditions.
-
Photograph People. You can share the things that you love most by taking photos of others.
To learn more about how to take better photos, check out our article: 5 Tips To Improve Your Photography Skills On A Smartphone.
Statistics
- That's the easiest way to get blurry photos 100% of the time. (photographylife.com)
- The second easiest way to get blurry photos 100% of the time is to use a cheap filter on the front of your lens. (photographylife.com)
- While I cannot prove that all of those spots were not sensor dust, the photo was taken during a heavy snowstorm…so I guess that 99.8% of the spots are snowflakes. (bhphotovideo.com)
- Get 40% off Adobe Creative Cloud(opens in new tab) (creativebloq.com)
External Links
How To
How to take macro photographs in photography
Macro photography is the ability to capture small objects, such as insects and flowers, at close range. The term "macro" comes from the Greek word makros (makros), meaning large. When you use a lens with a focal length greater than 50mm, you can take pictures of things that are very close up.
A good macro lens must have a long work distance and a fast aperture so that sharp images can be captured without having to move around. Avoid movement when taking photos, as any movement during exposure can blur your image.
Here are some great tips to create stunning macro photographs.
-
Use a tripod. Set up a table or chair so you don’t knock anything over. This will make it less likely that you are moving when shooting.
-
Select the right lighting. Most macro lenses come with built-in light filters, but if you don't have one already, buy one separately. It helps to prevent overexposure.
-
Be patient! Shooting macros takes practice. Even though you might only see one tiny bug or flower at a time, it is worthwhile to continue shooting until you capture it.
-
RAW format is best. RAW files have more data than JPEGs. They can store more detail. RAW files allow you to make changes such as cropping, color correction and other adjustments later.
-
Remember to include the background. Even if your foreground object is beautiful, the background can still add interest to your photo. Make sure to include it in the photo.
-
Keep learning.