If you're not a nature photographer, you can still practice your autumn photography on a kitchen table. You'll be in complete control of the lighting and subjects while you pose for the shot. Shoot at an aperture between f/8 and f/11 to minimize depth of field and maximize lens sharpness and detail. Here are some tips that will help you get started.
Photographing deer
Photographing deer during mating season is the best time of the year. Deer are sensitive and easily scared by strong scents. Be prepared for cold weather in order to make your experience pleasant. Avoid distracting animals by wearing muted colors or silent fabrics, if possible. Remember, wildlife does not always follow your instructions. It is possible, however, to capture incredible images of deer.
Photographing mushrooms
There are many tips to photograph mushrooms in autumn. A reflector allows you to direct light onto the underside of the mushroom. This helps the image look more natural. A reflector can help fill in areas that are shadowed by the mushrooms. It can also direct your flash light to create a weaker second light source. You can also use the reflectors to capture photos of mushrooms that are underexposed.
Photographing clouds
No matter what level you are at photography, autumn is an excellent time to capture the beauty of nature. However, you need to prepare for the chilly and windy weather that you're likely to encounter. You should dress warmly, and have fingerless gloves on hand to help you use touchscreens. Also, be ready for the discomfort that comes with being outdoors in the cold. Some of the most memorable cloud photos were taken from people whose ears were frozen solid.
Shooting from a distance
Start by choosing the type of photography you wish to capture in order to create a stunning landscape photograph. Landscape photography is all that you need to capture autumn's colours from a distance. You can choose to take a single or multiple trees or combine different perspectives. To get a good view of both the background as well as the foreground, no matter what your goals are, you will need a wide angle lens. A wide lens will let you capture autumn-coloured leaves far away.
Use a circular polarizer
A polarizer is a great tool to use when taking photographs of fall foliage. You can enhance the colors by using this filter, which makes your subjects appear more intense. The best time to use it is in the middle of the day. This is because the sun creates more contrast in your scene, and the polarizer will help make the colors pop. Also, look for watery areas in your landscape to enhance the colors.
FAQ
Should I take up photography as a hobby or a profession?
Photography is an excellent way to capture memories and share them with friends and family. You can also learn about the world around your camera.
If you are interested in learning how to take better pictures, there are plenty of resources available online to help you do just that.
It may be worth looking into classes at community colleges and art schools. This gives you the opportunity to meet other photographers, who can offer valuable feedback.
How can I be a great photographer?
Photography is an art form that requires patience, dedication, passion and dedication. If you are passionate about photography, you will find yourself doing much better than if you were just going for the money.
You should learn how your camera works. It is important to understand the basics of composition, lighting and exposure. A basic understanding of Photoshop is essential.
Photography is not easy, but once you master it, there is nothing quite as satisfying as creating images that capture moments in time that would otherwise have been lost forever.
Learn more about the subject and then take classes or participate in competitions to enhance your skills. You will gain confidence and experience, which can lead to improvements. What equipment is required?
It really depends on your type of photography. A wide-angle lens is necessary for landscape photography.
You should invest in a Telephoto Lens if you love portrait photography.
A tripod is crucial for taking photographs. It allows you to stand back and compose your picture without moving around.
Camera bags can be useful for carrying your camera and memory cards as well as other accessories.
If you use a compact camera, a flash unit is required.
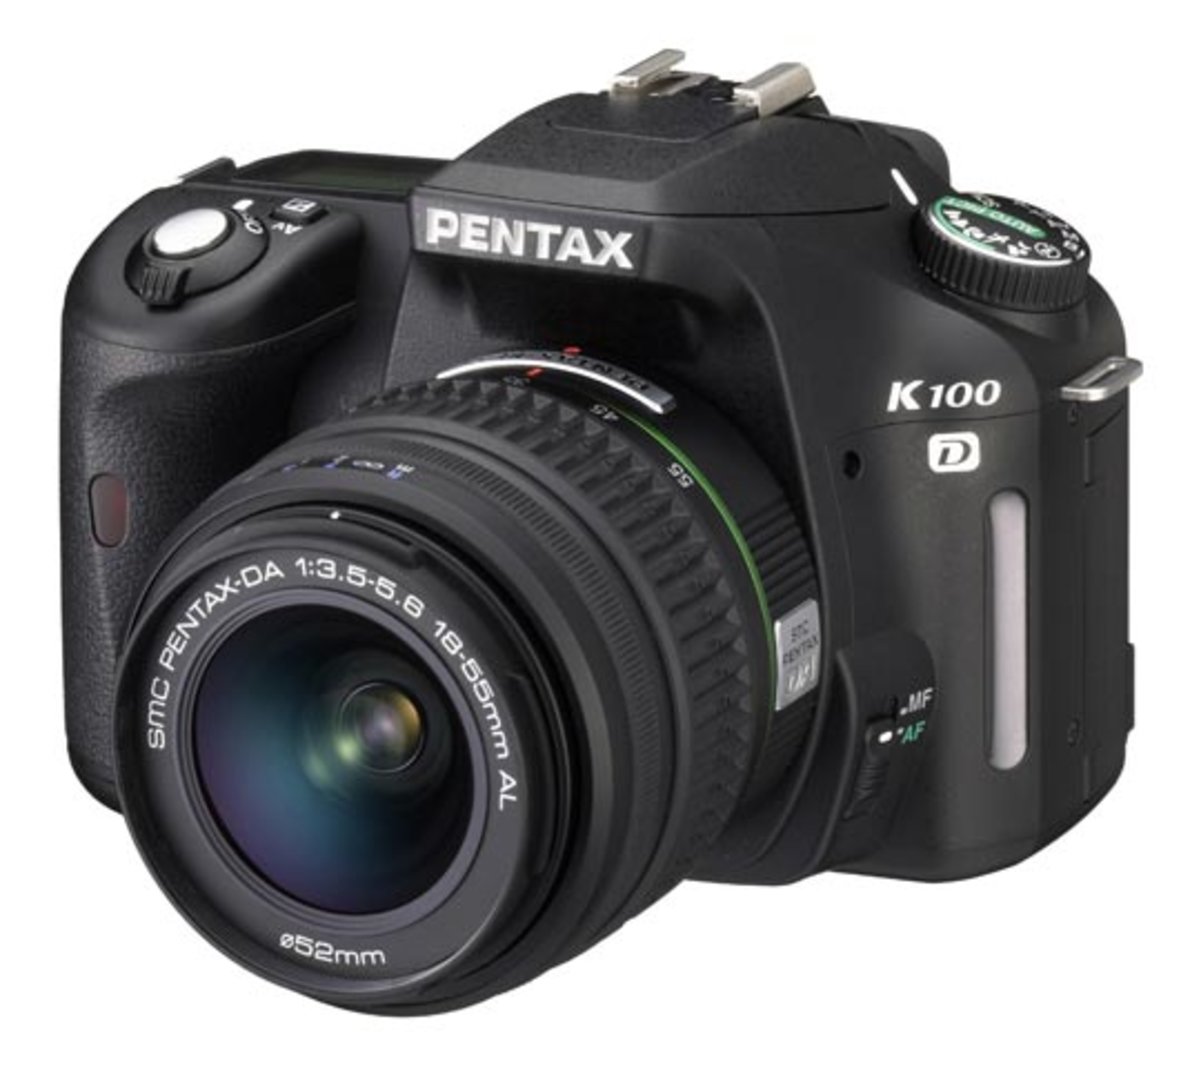
For beginners looking to capture professional-quality photos, a DSLR (Digital Single Lens Reflex Camera) is the best option.
DSLRs are great because they let you control every aspect in your photo including shutter speed (aperture, ISO sensitivity), white balance, focus and white balance. These cameras also offer a variety of features, such as autofocus (auto-exposure locking), self-timer bracketing and RAW format.
Is digital photography hard?
Digital photography is not as simple as it seems. You will need to spend time learning how to use these tools correctly. For different shots, you need to know which settings to use. It is best to practice what you have learned. Practice makes perfect.
Do I Need A Tripod?
This is a question everyone asks. Although a tripod might not always be needed, they can be useful.
A tripod allows you to stabilize your camera when taking photos at slow shutter speeds. A tripod can make all the difference when you're photographing landscapes or other stationary subjects.
However, tripods can blur the images of moving subjects like sports and people. How do you decide which situations are best served by a tripod.
A tripod is useful when you need to photograph stationary or fast moving subjects. Examples include:
-
Sports
-
People
-
Landscapes
-
Close-ups
-
Macro shots
Try this test to find out if you really need a tripod. Keep your camera still, and then look through the viewfinder. A tripod is required if there are blurred lines, movement or other issues.
If you don't see any blurring, you probably won't notice any improvement by adding a tripod.
Here are some tips for those who do decide to buy a tripod.
-
Your tripod should have smooth legs. This will stop unwanted vibrations shaking your camera.
-
You should choose a sturdy tripod. Some tripods may be made from plastic, which can make them less durable. You should opt for a steel tripod.
-
You may want to consider buying a remote-control device. Remote control allows you to remotely control your camera. It can automatically fire the shutter when you press the button.
-
Look for a tripod that has a 360-degree rotating head. It makes it easy to position your camera horizontally or vertically.
-
You should keep in mind that tripods don't come cheap. Expect to pay $100-200. You will still get a lot out of your money.
-
Don't forget about accessories like filters and memory cards.
-
Before shopping online, be sure to visit your local shop. Many retailers offer free shipping.
-
Read reviews to determine what customers think about a particular product.
-
Ask friends and family members who own similar products.
-
For customer feedback, visit message boards and forums.
-
Search online for user reviews.
-
Amazon.com offers the ability to search for prices and view customer feedback.
-
Check out these photo galleries for an example of the work that photographers do with their tripods.
How can I improve my photography skills on my phone?
Photography doesn't have to be expensive. Amazing images can be captured with a smartphone.
All you need to do is to be able to use the features of the program and to master some basic techniques.
There are many apps for iOS and Android devices that can edit and share pictures.
If you want to start taking better photos, here are five tips to help you get started.
-
Set Up Your Camera App. The camera app should be pre-installed on the device. You can download the camera app from Google Play and Apple's App store.
-
Use effects and filters. Filters and effects can be used to modify the appearance of your photograph without touching your image.
-
Adjust Exposure. Adjusting exposure helps you control the brightness of your picture.
-
Use the Right Lighting The brighter the light, the easier it is to see details. Photographing in low light conditions allows you to capture the highlights and shadows of your image.
-
Take Pictures Of People. You can share the things that you love most by taking photos of others.
You can learn more about how to capture better photos by checking out our article, 5 Tips To Improve Your Photography Skills on a Smartphone
How do you get started in digital photography
When you start out in digital photography, the first thing to consider is which type of camera you will use. There are many options: DSLRs (digital Single Lens Reflex Cameras), point-and–shoot compact cameras or camcorders. Each camera has different benefits and features. For example, DSLR cameras offer high-quality images but are typically larger and heavier than other types of cameras. Point-and-shoot cameras are smaller and lighter and often include automatic settings for certain situations. Camcorders provide excellent video recording capabilities and may also feature still photo shooting modes. Smartphones are small, light, and easy to carry around and offer great image quality and many advanced features such as GPS mapping, music playback, and Internet browsing.
Once you've chosen the type of camera that you want, you can decide whether to purchase a used or new model. Used cameras can be found at reasonable prices, especially if they were purchased within the last few years. Because of the large amount of money that manufacturers spend on new technology, older models are more expensive.
Next, you will need to purchase lenses. Lenses are crucial in determining the quality and appearance of your photos. They let you adjust the focal length to zoom in and out of the scene, without losing focus. Some lenses are equipped with flash units built in, while others require external flash units. A wide range of lenses is available from various brands, each offering unique characteristics.
Finally, you need to purchase memory cards. Memory cards store pictures taken by your camera. It can hold hundreds to thousands of photos, depending on how big your card is. Multiple memory cards are required if you intend to take many pictures.
Statistics
- While I cannot prove that all of those spots were not sensor dust, the photo was taken during a heavy snowstorm…so I guess that 99.8% of the spots are snowflakes. (bhphotovideo.com)
- Get 40% off Adobe Creative Cloud(opens in new tab) (creativebloq.com)
- There are people out there who will pick at flaws they can only see in 100% crops of your photos. (wikihow.com)
- That's the easiest way to get blurry photos 100% of the time. (photographylife.com)
External Links
How To
How to Take Pictures of Yourself
Portraits are important because of their ability to show who you actually are. They can also tell your life story. It's possible to have a favourite picture of yourself, but you are now looking for something different. It is easy to forget how much fun it can be to take pictures. These are some tips that will help you get started.
-
Make sure you have enough light. Portraits are best taken in the morning or late at night. Make sure you don't have direct sunlight shining on your face if you are using flash. This will blur any details. It is best to avoid shooting at midday. Too many shadows will result.
-
Use a tripod. The camera will not move if it is held still. This means that you will miss the opportunity to freeze motion. You can also set up your flash first, even if you are using it. Turn off the flash, then try again.
-
Take close-ups. Closeups are great for showing detail. They can also look fake if they aren't done well. Pay close attention to people's eyes and noses. Notice anything unusual? Is someone wearing glasses? Are there freckles around her nose? These things add depth to a person's appearance.
-
Don't force smiles. Smiles are tricky. People smile when they feel happy. But some people don't. Forcing them to smile is a bad idea. Consider what makes you smile. Perhaps it's silly things like watching a cat jump through a hoops. Or maybe you love watching paint dry. Whatever it may be, don't stop thinking about it until your heart starts to laugh.
-
Get creative. Many people think they are boring. Being boring isn't necessarily bad. Find ways to get out of the normal. For example, you could ask someone to pose with his hands behind his back. Or you might suggest having him wear a funny hat.
-
Keep practicing. It will take you a lot of practice to improve at taking photos. As you improve, you'll notice more interesting things happening around you.
-
Have fun. It should be fun to take photos. You'll be more inclined to return to the same process if you enjoy it. You might even end up with some pretty cool photos.
-
You should share your work. Share your photos with family and friends once you have learned how to take great pictures. Explain to them why you took that picture. Show them where you went. Let them know what your experience was.
-
Be patient. Sometimes you just won't click. It happens for everyone. Don't worry. Keep moving on to another image.